This article will teach you how to develop and deploy a Minecraft plugin for a Paper server, using the Bukkit API. As a toy example, you will learn all the steps necessary to create a plugin that allows players to craft special compasses that can teleport them to their linked lodestones. This is going to be a complete guide, covering all aspects of plugin development: from how to set up the project using IntelliJ IDEA, to how to integrate it with bStats to collect metrics.
This article will explain how to render 4D objects in Unity, using three separate technique: orthographic projection, perspective projection and cross-section.
You can find all the articles in this series here:
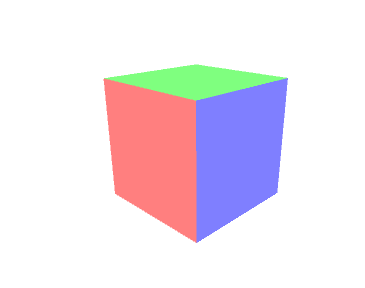
This article will show how to extend Unity to support four-dimensional geometry. This is the second article in a series of four, and the first one which will probably start discussing the Mathematics and the C# code necessary to store and manipulate 4D objects in Unity.
You can find all the articles in this series here:
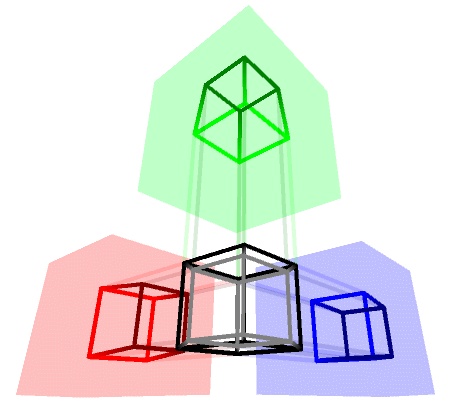
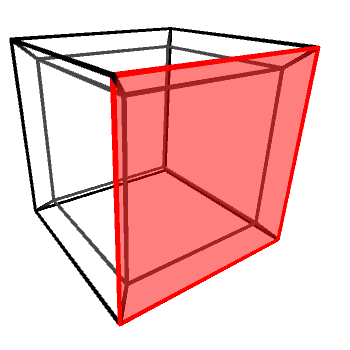
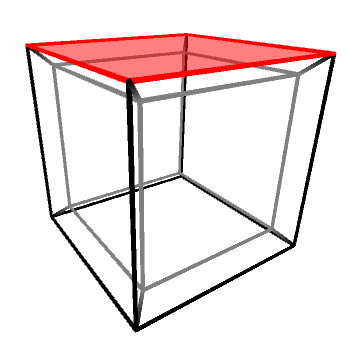
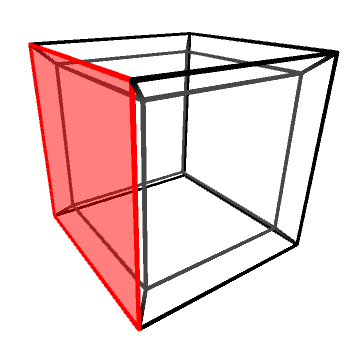
This is the first part of a series of articles dedicated to extending Unity from 3D to 4D. In this instalment, we will explore the fourth dimension, from its representations in movies and video games, to its more mathematical and geometrical interpretations.
At the end of the series, you will learn how to create and manipulate 4D objects inside a modern game engine like Unity or Unreal.
You can find all the articles in this series here:
A slippy map (sometimes also referred to as tiled web map, tile map, or simply interactive map) is a web-based map that can be zoomed in and out seamlessly. The most popular slippy map you might be familiar with is Google Maps, alongside many others like that.
This tutorial will show you how to create your own web-based slippy map with Unity. Such a technique can be used to create interactive maps for your own games, or to better explore complex phenomena such as fractals or even Mathematical functions. For clarity, the actual map will be created with Unity, but it will be served using a JavaScript library called LeafletJS. A link to download the full Unity package is also available at the end of the article.
The image used in the cover has been generated using Stamen.
Seam carving is a technique that can be used to resize images, which is also known as liquid rescaling. Compared to the traditional resizing tool, it does not “stretch” the image, but it selectively removes the pixels which contain the least amount of information. As a result, it allows to shrink images preserving most of the details.
Seam carving is an example of a context-aware resizing algorithm, as it does not treat images as mere collections of pixels. By all means, it can be considered an AI-powered algorithm. The “AI part” resides in the fact that it is able to identify which pixels to remove on its own. However, it does so without any neural network and—most importantly—without the need to be trained on external data. Hence, it belongs to the field of what I call Classical AI, conversely to the more recent field of Deep Learning. With AI-powered tools becoming more and more popular, I find it helpful to show how a lot can be achieved with some clever algorithms, without the need to train expensive neural network models.
If you are interested in learning more about tools like DALL·E 2 and Midjourney, I would suggest checking one of my most detailed articles titled The Rise of AI Art.
This post completes the journey started in The Mathematics of Thin-Film Interference, by explaining how to turn the equations previously presented into actual shader code.
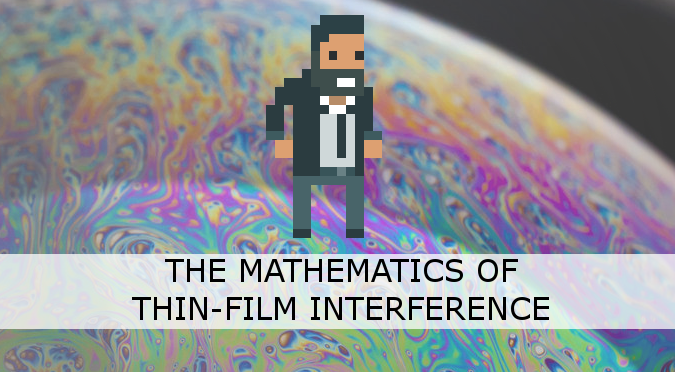
This post continues our journey through the Mathematical foundations of iridescence. This time, we will discuss a new way in which material can split light: thin-film interference. This is how bubbles (and car paint) get their unique reflections.
This is the third part of the series dedicated to one of the most popular sensor de-noising technique: Kalman filters. This article will explain how to model non-linear processes to improve the filter performance, something known as the Extended Kalman Filter.
You can read all the tutorials in this online course here: