
This is the first part of the online series inspired by the sand rendering of Journey. Join me in this journey into the secrets that made Journey’s sand shader so iconic.
- Part 1. A Journey Into Journey’s Sand Shader
- Part 2. Journey Sand Shader: Diffuse Colour
- Part 3. Journey Sand Shader: Sand Normal
- Part 4. Journey Sand Shader: Specular Reflection
- Part 5. Journey Sand Shader: Glitter Reflection
- Part 6. Journey Sand Shader: Sand Ripples
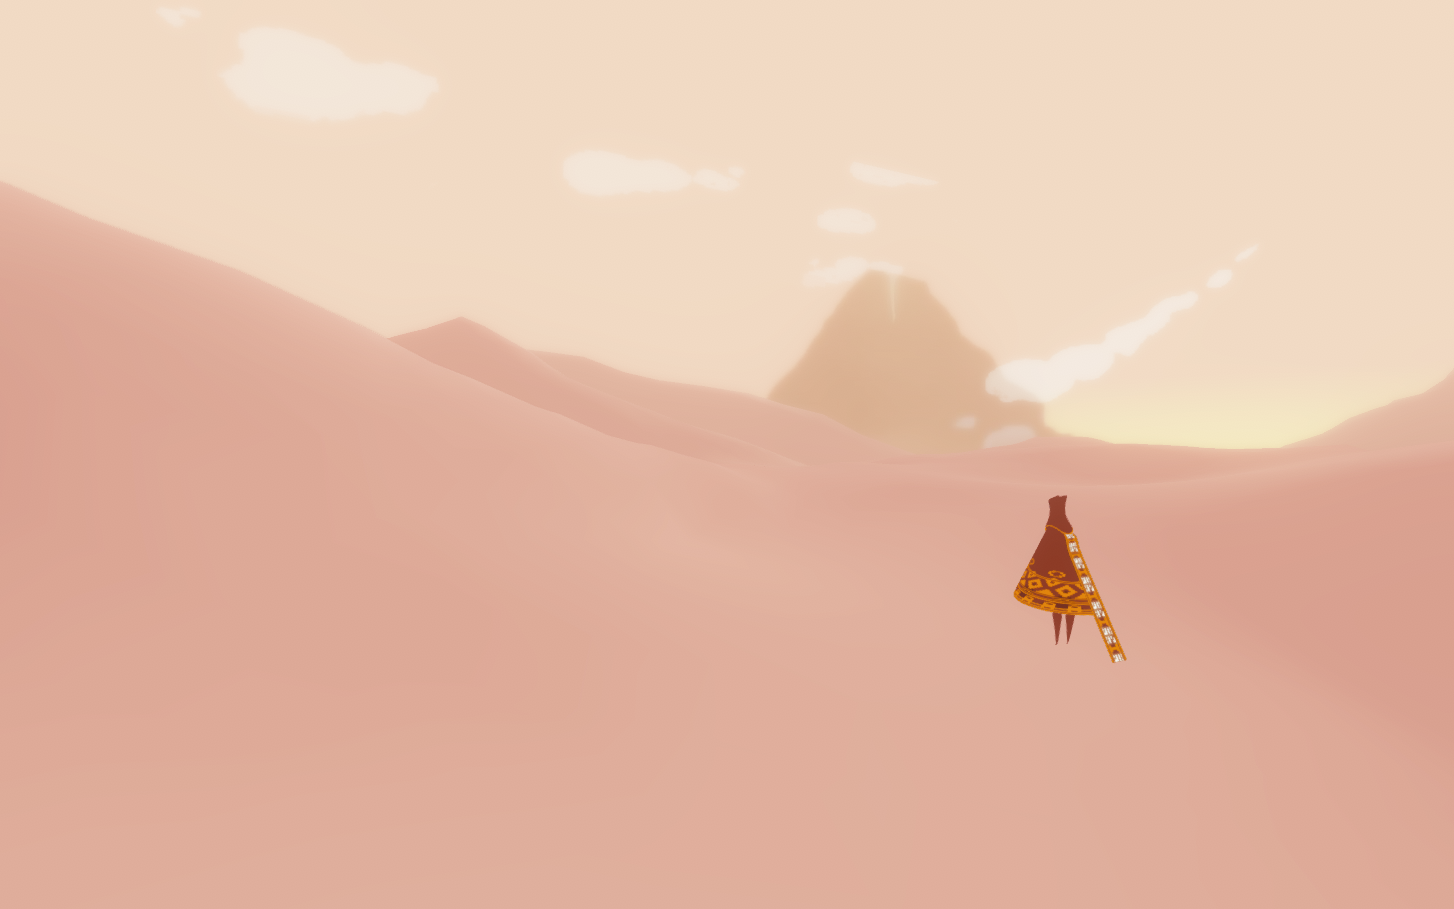

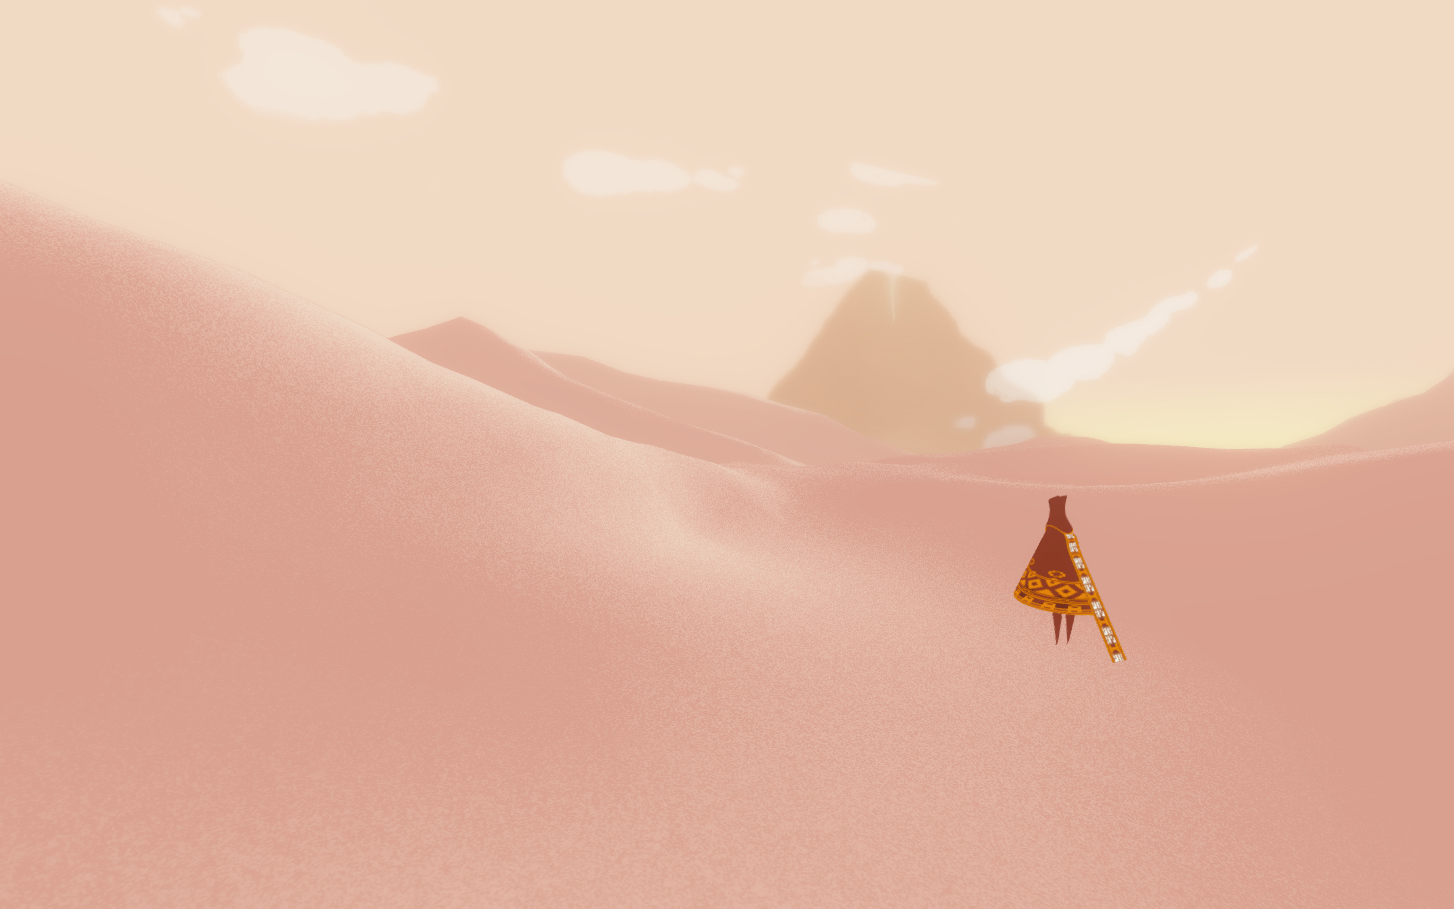
Among the many indie titles that have been released in the past ten years, Journey is definitely one of my favourites. From its stunning aesthetic to its beautiful soundtrack, Journey is an example of excellence in virtually every aspect of its development.
As a Game Developer and a Technical Artist myself, one of the aspects I have been most intrigued by is how sand was rendered. That is not just an eye candy, but is directly connected with the core gameplay and the overall experience. Journey is literally built out of sand, and without such an amazing effect, the game itself simply would not exist.

This entire online course wants to pay homage to Journey‘s legacy, by teaching how to recreate that very same sand rendering, using shaders. Wheater your game needs realistic sand dunes or not, these tutorials are perfect if you want to learn to reproduce a specific aesthetics in your own game. If you want to reproduce the beautiful sand shader used in Journey, you first need to understand how it was constructed. And while it looks exceptionally sophisticated, it is actually made out of several relatively simpler effect. This approach to shader coding is essential to becoming a successful Technical Artist. So I hope you will all stick with me through this (literal) journey, while we explore not just how to create shaders, but how to tailor aesthetic and gameplay together.
Dissection of Journey’s Sand
This online course, like many others who attempt to recreate Journey‘s sand rendering, is heavily inspired by thatgamecompany‘s Lead Engineer John Edwards’s GDC talk titled “Sand Rendering in Journey” (below). In his talk, John Edwards goes through all the layers of effects that have been added to Journey‘s sand dunes in order to achieve its current look.
While massively helpful, many of the constraints and solutions discussed by John Edwards are not really relevant to the context of this course. We will attempt to create a sand shaders that resembles Journey‘s one mostly using visual references.
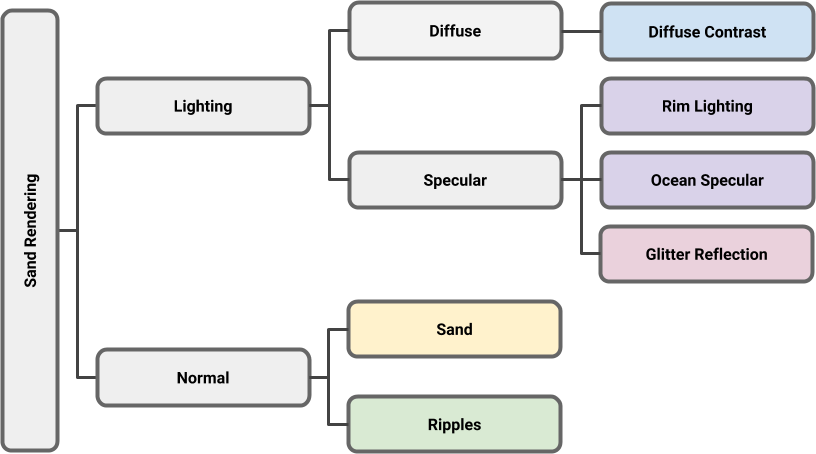
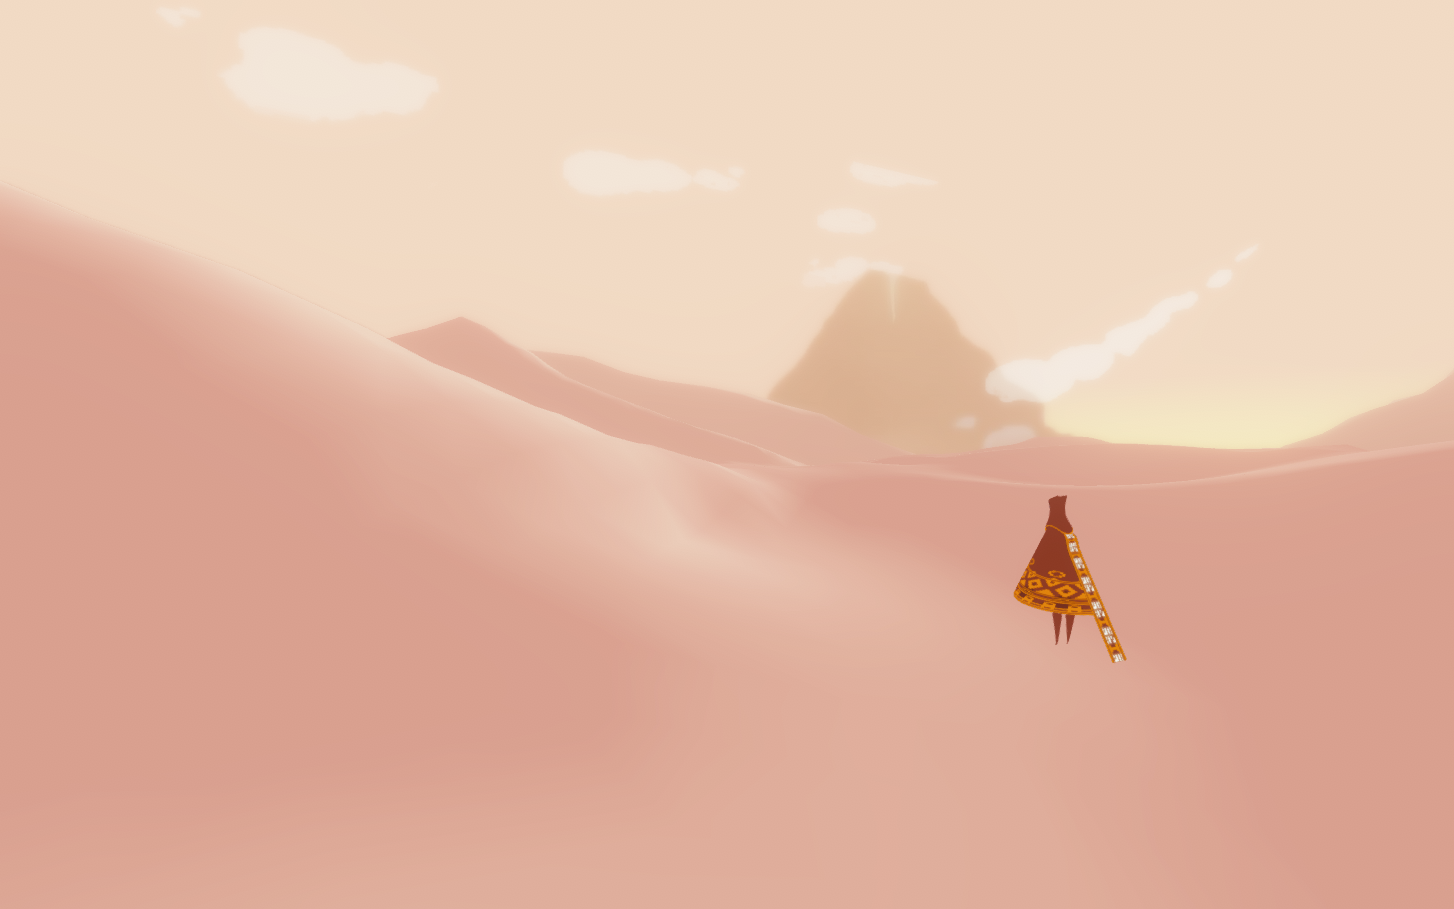
Let’s start with a simple 3D mesh of a perfectly smooth dune. The believability of the sand rendering depends on two aspects: its lighting and its granularity. The peculiar way in which light reflects on sand is captured by a custom lighting model. In the context of shader coding, a lighting model determines shadows and highlights based on a model’s properties and on the scene’s lighting conditions.
This, however, is not enough to sustain the illusion of believability. The reason is that sand cannot simply be modelled with smooth surfaces. The granularity of sand itself needs to be taken into account. This is why there are two specific effects that directly operates on the surface normal, which can be used to simulate the small grains of sand on the surface of a dune.
The diagram below shows all the effects that will be covered in the rest of this course. From a technical point of view, the normal calculations take place before the lighting. For educational purposes, the effects will be described in a different order.
Diffuse Colour
The most basic effect of the sand shader is its diffuse colour, which loosely represents the matte component of its overall look. The diffuse colour is calculated based on the actual colour of the object, and its lighting condition. A sphere that has been painted white will not look perfectly white everywhere, as its diffuse colour depends on the lighting that is applied to it. Diffuse colours are calculated using a mathematical model that approximates how light is supposed to reflect off a surface. Thanks to John Edwards’s GDC talk, we know the exact equation that has been used, which he referred to as diffuse contrast reflectance, based on the well-known Lambertian reflectance.
Sand Normal
The starting geometry is completely smooth. To compensate for this, the surface normal of the model is altered with a technique called bump mapping. This allows using a texture to simulate a more complex geometry than the one that is actually present.
Rim Lighting
Each level of Journey uses a limited palette of colours. Because of this, it can be quite hard to perceive where a dune ends and another one starts. One technique used to improve readability is adding a subtle shimmering that is only visible on the edge of a dune. This is called rim lighting, and there are many ways in which this can be achieved. The one chosen for this tutorial is based on the Fresnel reflectance which models reflections of polished surfaces at so-called grazing angles.

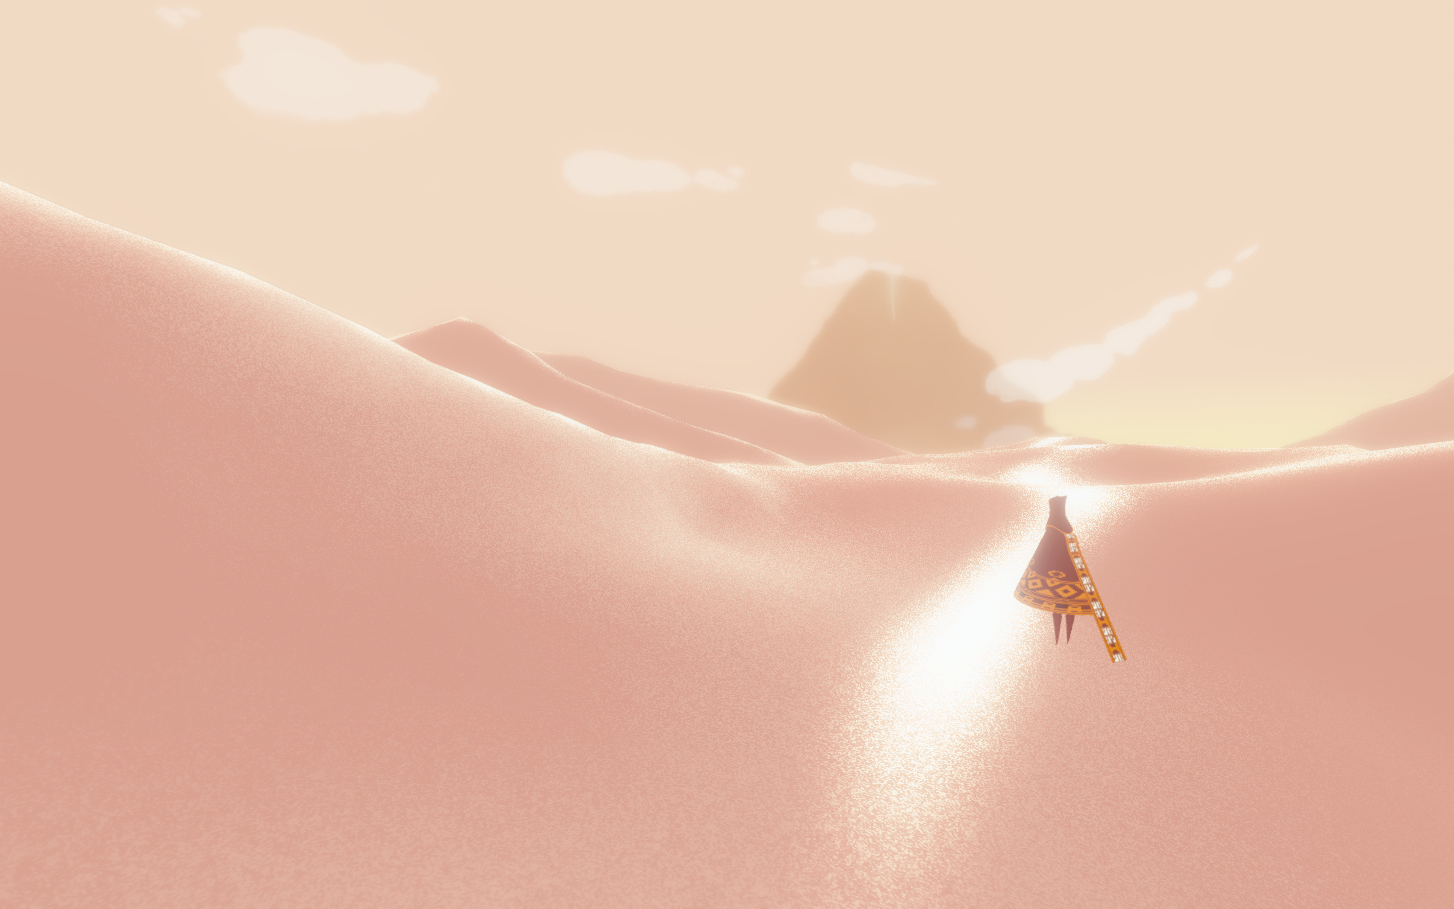
Ocean Specular
One of the most satisfying aspects of Journey‘s gameplay experience is the ability to literally “surf” on the sand dunes. This is probably why thatgamecompany wanted the sand to feel almost like a liquid, rather than a solid. To do this, it is possible to see a strong reflection that resembles the one often used in water shaders. John Edwards referred to this effect as ocean specular, and in this tutorial it has been implemented using the Blinn-Phong reflectance.
Glitter Reflection
The addition of an ocean specular component to the sand shader definitely gives a more fluid look to it. However, that still fails to capture one of the most important visual aspects of sands: its random shimmering. On real dunes, this effect happens because each grain of sand scatters light in a different direction and, every so often, one of these reflected rays hits our eyes. This glitter reflection occurs even in areas that are not in direct sunlight, complementing the ocean specular and enhancing the sense of believability.

Sand Ripples
Altering the normals allowed to simulate the effect of tiny grains of sand covering the dune surface. Real dunes often exhibit ripples caused by wind. Their shape changes based on the steepness and orientation of each dune in respects to the wind direction. These patterns could potentially be authored in a bump texture, but that would then make impossible to alter the shape of the dunes at runtime. The solution proposed by John Edwards is similar to a technique called triplanar shading, and relies on four different textures which are blended based on the orientation and steepness of each dune.
Anatomy of Journey’s Sand Shader
Unity offers a variety of template shaders one can start from. Since we are interested in materials that can receive light and cast shadows, we should start from a surface shader.
All surface shaders operate in two steps. First, a surface function is called to gather properties of the surface that needs to be rendered, such as its albedo, roughness, metallicity, transparency and normal direction. All these properties are then passed to a lighting function, which takes into account the contribution of external light sources to calculate shades and highlights.
⭐ Suggested Unity Assets ⭐
The Surface Function
Let’s start by writing what it will be the core of our surface function, called surf, in the snippet below. Conceptually, the only properties we need to specify are the sand colour and the surface normal. The normal of a 3D model is a vector that indicates the orientation of the surface. Normal vectors are used by the lighting function to calculate how light should bounce and reflect. They are generally calculated when a mesh is imported. However, they can be altered to simulate a more complex geometry than the one that is actually imported. This is where the sand normal and sand ripples effects will come into play, perturbating the model’s normal to simulate the roughness of sand.
void surf (Input IN, inout SurfaceOutput o)
{
    o.Albedo = _SandColor;
    o.Alpha = 1;

    float3 N = float3(0, 0, 1);
    N = RipplesNormal(N);
    N = SandNormal   (N);

    o.Normal = N;
}
When normals are written in o.Normal, they have to be expressed in tangent space. This means that the vector chosen is relative to the 3D model surface. So, float3(0, 0, 1) actually means that no change to the normal of the 3D model is done.
Both the RipplesNormal and SandNormal functions take a normal vector and perturb it. We will see in a later post how this can be done.
The Lighting Function
The lighting function is where all the other effects will be implemented. The code below shows how each component (diffuse colour, rim lighting, ocean specular and glitter reflection) is calculated in its own separate function. Then, they are all combined together.
#pragma surface surf Journey fullforwardshadows

float4 LightingJourney (SurfaceOutput s, fixed3 viewDir, UnityGI gi)
{
    float3 diffuseColor = DiffuseColor    ();
    float3 rimColor     = RimLighting     ();
    float3 oceanColor   = OceanSpecular   ();
    float3 glitterColor = GlitterSpecular ();

    float3 specularColor = saturate(max(rimColor, oceanColor));
    float3 color = diffuseColor + specularColor + glitterColor;

    return float4(color * s.Albedo, 1);
}
The way in which the components are merged together is fairly arbitrary, and leaves out a lot of space for artistic exploration.
Usually, the specular reflections are summed up on top of the diffuse colour. Since here we have not one, but three specular reflections (the rim light, the ocean specular and the glitter specular), we need a more careful approach to avoid making the sand too sparkly. Since the rim light and the ocean specular are part of the same effect, we only take the maximum value between the two. The glitter specular is added separately, as that is the component that gives the sand its shimmery look.
What’s Next…
In this first article, we have explored which effects contribute to the overall aesthetic that made Journey’s sand so iconic.
The second part of this online series, Journey Sand Shader: Diffuse Colour, will focus on the reflectance model used to shade dunes.
- Part 1. A Journey Into Journey’s Sand Shader
- Part 2. Journey Sand Shader: Diffuse Colour
- Part 3. Journey Sand Shader: Sand Normal
- Part 4. Journey Sand Shader: Specular Reflection
- Part 5. Journey Sand Shader: Glitter Reflection
- Part 6. Journey Sand Shader: Sand Ripples
Credits
The videogame Journey is developed by Thatgamecompany and published by Sony Computer Entertainment. It is available for PC (Epic Store) and PS4 (PS Store).
The 3D models of the dunes, backgrounds and lighting settings were made by Jiadi Deng.
The 3D model of the Journey’s player was found on the (now closed) FacePunch forum.
Download Unity Package
Become a Patron!
If you want to recreate this effect, the full Unity package is available for download on Patreon. It includes everything needed, from the shaders to the 3D models.
💖 Support this blog
This website exists thanks to the contribution of patrons on Patreon. If you think these posts have either helped or inspired you, please consider supporting this blog.
📧 Stay updated
You will be notified when a new tutorial is released!
📝 Licensing
You are free to use, adapt and build upon this tutorial for your own projects (even commercially) as long as you credit me.
You are not allowed to redistribute the content of this tutorial on other platforms, especially the parts that are only available on Patreon.
If the knowledge you have gained had a significant impact on your project, a mention in the credit would be very appreciated. ❤️🧔🏻
Could you create this shader in shader graph ?
Totally!
Hello Alan! Thanks for this amazing tutorial. I wanted to know if the part 2-6 of the tutorial are only available through Patreon? or do you plan on releasing them in future? Thanks again!
Hi!
Thank you so much!
The remaining parts will eventually be published on this website.
However, the Unity packages will only be avaialble through Patreon!
I see.
Thank you for the information. One last question do you have any time line for the release of the next parts?
Keep doing God’s work!!
Yes! The second part will be released today!
I am planning on releasing a post every one or two weeks (depending on how busy I am!).
Would it be possible to follow this course to implement the same effect and shaders into another game engine such as CRYENGINE or unreal engine?
Sure! 🙂
I know some readers have done that already without any major problem!
Hey Alan,
Sorry, I think I’m a bit of a novice with shaders, so I must ask dumb questions …
I’m attempting to implement this as a “Standard Surface Shader” in Unity 2020.3 in a standard 3D project (so no URP). When I write in the Lighting function from the first page, I get the following error (and even reading ahead doesn’t seem to address it)
“Surface shader lighting model ‘Journey’ is missing a GI function (Journey_GI) at line 15”
Is it safe to assume that the shaders are (more or less) meant to compile at the end of each page, if following along?